Thursday, October 31, 2013

A "Good Morning" Flower {It's the little things in life...}


I woke up early the other morning to the beep beep of my phone receiving a text message.  Sleepily I rubbed my eyes, rolled over and looked at the screen.  As my blurry eyes began to focus I saw a "Good Morning" flower from my love!  It's those little simple things in life that mean the most!  Having a long distance relationship is not easy but it makes you more mindful of each other as we find lots of creative little ways to say "I love you!"

Monday, October 21, 2013

Persimmons, Pumpkins and Pomegranates oh my!

This is "Fall" in my neck of the woods!  Colorful roses are blooming along with the pretty "dancing ladies" tree.  It is still warm with temperatures hovering around 80.  The persimmon tree is full of delicious fruit and the pomegranates are bright red.  My landlady and I will be squeezing them soon and making our yearly batches of pomegranate jelly.  Pumpkins have appeared (thanks to Charlotte and Bill) and some very strange looking gourds.  Fall is here!

Thursday, October 03, 2013

What's for Dinner?


With October well on it's way I get in the mood to make more dishes in the oven.  One of the recipes that I tried last week was a new take on enchiladas.  The original recipe was  called Roasted Butternut Squash and Garlic Enchiladas and was posted on the food blog In Sock Monkey Slippers.  I've tried several of her recipes in the past and they've turned out great.  A friend of mine had grown some butternut squash in his garden and gave me a couple. They had been sitting on my counter staring at me  so here was the perfect recipe to use them up!  I changed it up a little bit to adapted it to my own taste.  I added roasted chicken which can be optional if you want a vegetarian dish.

Here how I made mine:

Preheat our oven to 400 F.  Prepare your baking sheet by lining it with parchment paper.  Get a whole head of garlic and cut off the top (about 1/4 to 1/2 an inch) then place on a piece of parchment paper and drizzle with olive oil and course sea salt.  Gather and twist the paper together like a little package.  You can also use foil but I didn't have any.  Cut the squash lengthwise, scoop out the seeds and place facing down on the lined baking sheet.  I did learn a great tip from Meredith: Placing the whole squash in the microwave for 45 seconds before cutting will make slicing easier."   So true!  Bake for about 45 minutes.  Your house will smell delicious as it bakes!


After taking it out of the oven let it rest and cool off for just a bit so you don't burn your fingers.  Gently scoop out the squash away from the skin and put into your food processor.  (A blender will also work)  


Squeeze the garlic cloves from the head into the food processor with the squash. They will just sort of pop out of the casing. Process or blend and test for salt.  Add is needed.  I also added black pepper, a bit of cayenne pepper and some ground cumin for extra flavor.


I had some roasted chicken breast that I coarsely chopped to add to the enchiladas.  This is optional but it sure made them delicious!  Preheat oven to 400 degrees and then get everything ready to assemble.


Heat up tortillas in a pan or the microwave.  Take one tortilla and place a generous scoop of the squash mixture.  Sprinkle some chopped chicken on top and carefully roll.    


Place in a greased 9x14 baking dish. Repeat the process until all the ingredients are used up.  I got 12 rolls in the baking dish. Pour a jar of salsa verde (about 2 cups) all over the top.  


Then for a final touch sprinkle about a cup and a half of monterey jack cheese and pop it in the oven for about 25 minutes or until cheese is golden.


Let it rest for a few minutes and serve.


Enjoy a very delicious meal (or six meals if you are like me and are cooking for one!)


  • 1 1/2 – 2 pound butternut squash
  • 1 head of garlic
  • 1-2 teaspoons extra virgin olive oil
  • course kosher sea salt
  • black pepper
  • cayenne pepper
  • ground cumin
  • 1 - 1 1/2 cups of cooked chicken breast, chopped
  • 12 corn tortillas
  • cooking oil spray
  • 1 1/2 cups monterey jack cheese, shredded
  • 2 cups salsa verde

Monday, September 30, 2013

Felt Flowers {Draw Cut & Roll}


The other day as I was thinking about making some Fall decorations for my apartment I came across this blog that had a tutorial for making felt flowers.  It looked so easy that I ran to the craft store and bought some fall colored felt to try it out.


Just follow these very easy steps:

Draw, Cut and Roll!

  • Trace a circle on the felt using any round circular item


  • Cut the circle out and then make a spiral cut going from the outside toward the inside


  • Start to roll the flower from the outside end


The possibilities are endless!  Check out the tutorial at Little Things Bring Smiles for more ideas on different kinds of flowers you can make.


I'll post my Fall decor ideas and how I'm using the felt flowers soon!  Stay tuned!


Saturday, September 21, 2013

Welcome Fall! Pumpkin Pancakes with Pancetta


Somehow the summer has managed to have come and gone!  So in honor of tomorrow being the first official day of Fall I made some Pumpkin Pancakes with Pancetta sprinkles on them.  I was browsing around for a recipe and found one here.  It sounded good but I adapted it to what I had on hand and made it my own way.  It's a great recipe for two and very easy to make.  Here is what I did...

Ingredients:

1/2 cup pumpkin puree (not pie filling)
1/3 cup almond milk (unsweetened)
1 egg
1/2 tsp vanilla
1/2 cup flour
1/2 tsp baking soda
1/4 tsp pumpkin spice
1/8 tsp cinnamon
1 tsp sugar
Dash of salt
Pancetta
Fry up the pancetta in a cast iron skillet until crispy.  In a small bowl mix the milk, pumpkin, egg, vanilla.  I a separate bowl combine all the dry ingredients.  Combine the dry ingredients into the wet ones until all mixed together.  Heat up the skillet with the pancetta drippings over a medium heat.  Add a scoop of batter (about 1/4 cup)and cook until bubbles appear on top.  Flip over and cook until done.   Serve with maple syrup and sprinkle pancetta on top.  Enjoy!


Friday, May 24, 2013

DIY Easy Banner

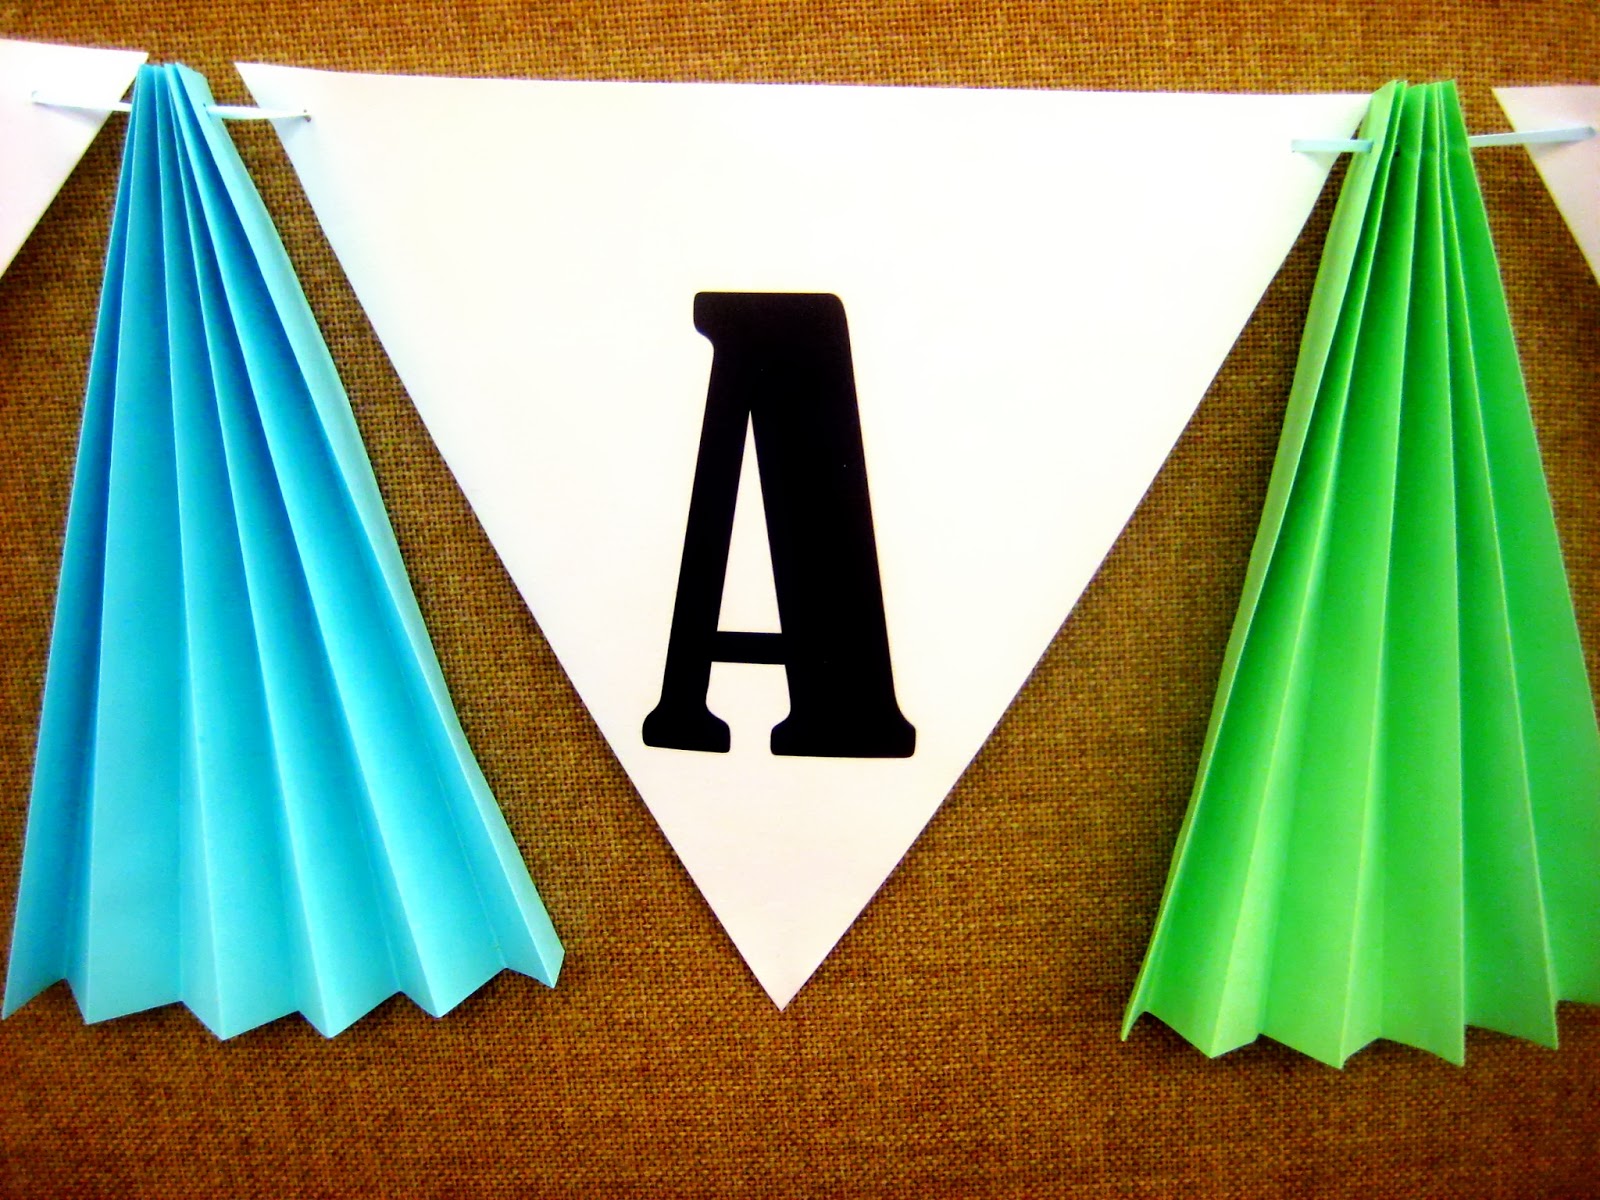
The other day a friend at work asked me to make a "Thanks" banner for a last minute employee appreciation break.  I didn't have too much to work with except what I could find on hand here at the office.  So I gathered some blank pieces of paper and here is how it turned out...


I used regular 8x11 printer paper.  Four blue, three green and six white.


Print individual letters on each white piece and cut into triangles with a paper cutter.  Fold the blue and green pieces like an accordion beginning with the shorter side of the paper.


Use a hold punch to perforate the "fan" at one end.


Then thread a string or thin ribbon through each "fan" and each letter spacing them out evenly.


Flare out the bottom end of the "fan" and hang it up!


Sunday, May 19, 2013

Just in time for summer


With summer right around the corner I've been looking for good recipes to make that are easy, healthy and delicious.  Today I made what I call Ruth's Rainbow Bean Salad.  The best part is that I didn't even have to go to the store but had all the ingredients on hand.  I love it when that happens!


Start by rinsing and draining 3 cans of beans.  I used Pinto beans, Southern Style Blackeye Peas, and Black Beans.  Place in a large bowl.  Chop up some purple cabbage, shredded carrots, one red bell pepper, half an onion and some fresh parsley.  Add some roasted red peppers chopped.  Mix it all together.


For the dressing I used seasoned rice vinegar, extra virgin olive oil, Old Bay seasoning, cumin, black pepper, roasted garlic powder and salt.  Mix it all up and let it sit in the refrigerator for at least an hour so the flavors all meld together.  Serve as a side to any summer meal.


Ruth's Rainbow Bean Salad
1 can (15 oz) Seasoned Southern Style Blackeye Peas, drained and rinsed
1 can (15 oz) Black beans, drained and rinsed
1 can (15 oz) Pinto beans, drained and rinsed
1 cup carrots, shredded
1 cup purple cabbage, chopped
1 red bell pepper, chopped
1/2 onion, chopped
1/2 cup roasted red peppers, chopped
Parsley, finely chopped

Dressing:
1/4 cup seasoned rice vinegar
1/8 cup extra virgin olive oil
2 tsp Old Bay seasoning
1/4 tsp cumin
1/4 tsp black pepper
1/4 tsp salt
1/4 tsp roasted garlic powder
Mix all ingredients together and refrigerate or at least an hour.  Enjoy!


Tuesday, May 14, 2013

Lovely mornings

Spring and summer are by far my favorite times of year. Flowers are blooming and everything looks lovely.  I love to wake up to the soft morning sunshine coming in through the window.  This was my view this morning at the breakfast table.  I am so blessed!

Sunday, May 12, 2013

Sourdough biscuits anyone?

Life has been busy and among some things that have been waiting for a bit of my time like my poor ignored blog was a jar of sourdough starter that a friend of mine had given me a while back.  I have a confession to make.  Even though I love cooking and baking I've always been a little intimidated by bread making.  So of course I kept putting it off... It kept staring at me on the kitchen counter and I kept trying to find time and a recipe I felt comfortable trying.  So this Saturday morning feeling rested after a good night's sleep I decided I would take on the jar of strange smelling goo.  I decided on a quick bread type recipe (I know, the safer choice!) and found one in a cookbook another friend of mine lent to me.  I've been wanting to try a recipe or two from "A Cowboy In The Kitchen".  Sure enough, there was a recipe for Sourdough Biscuits!


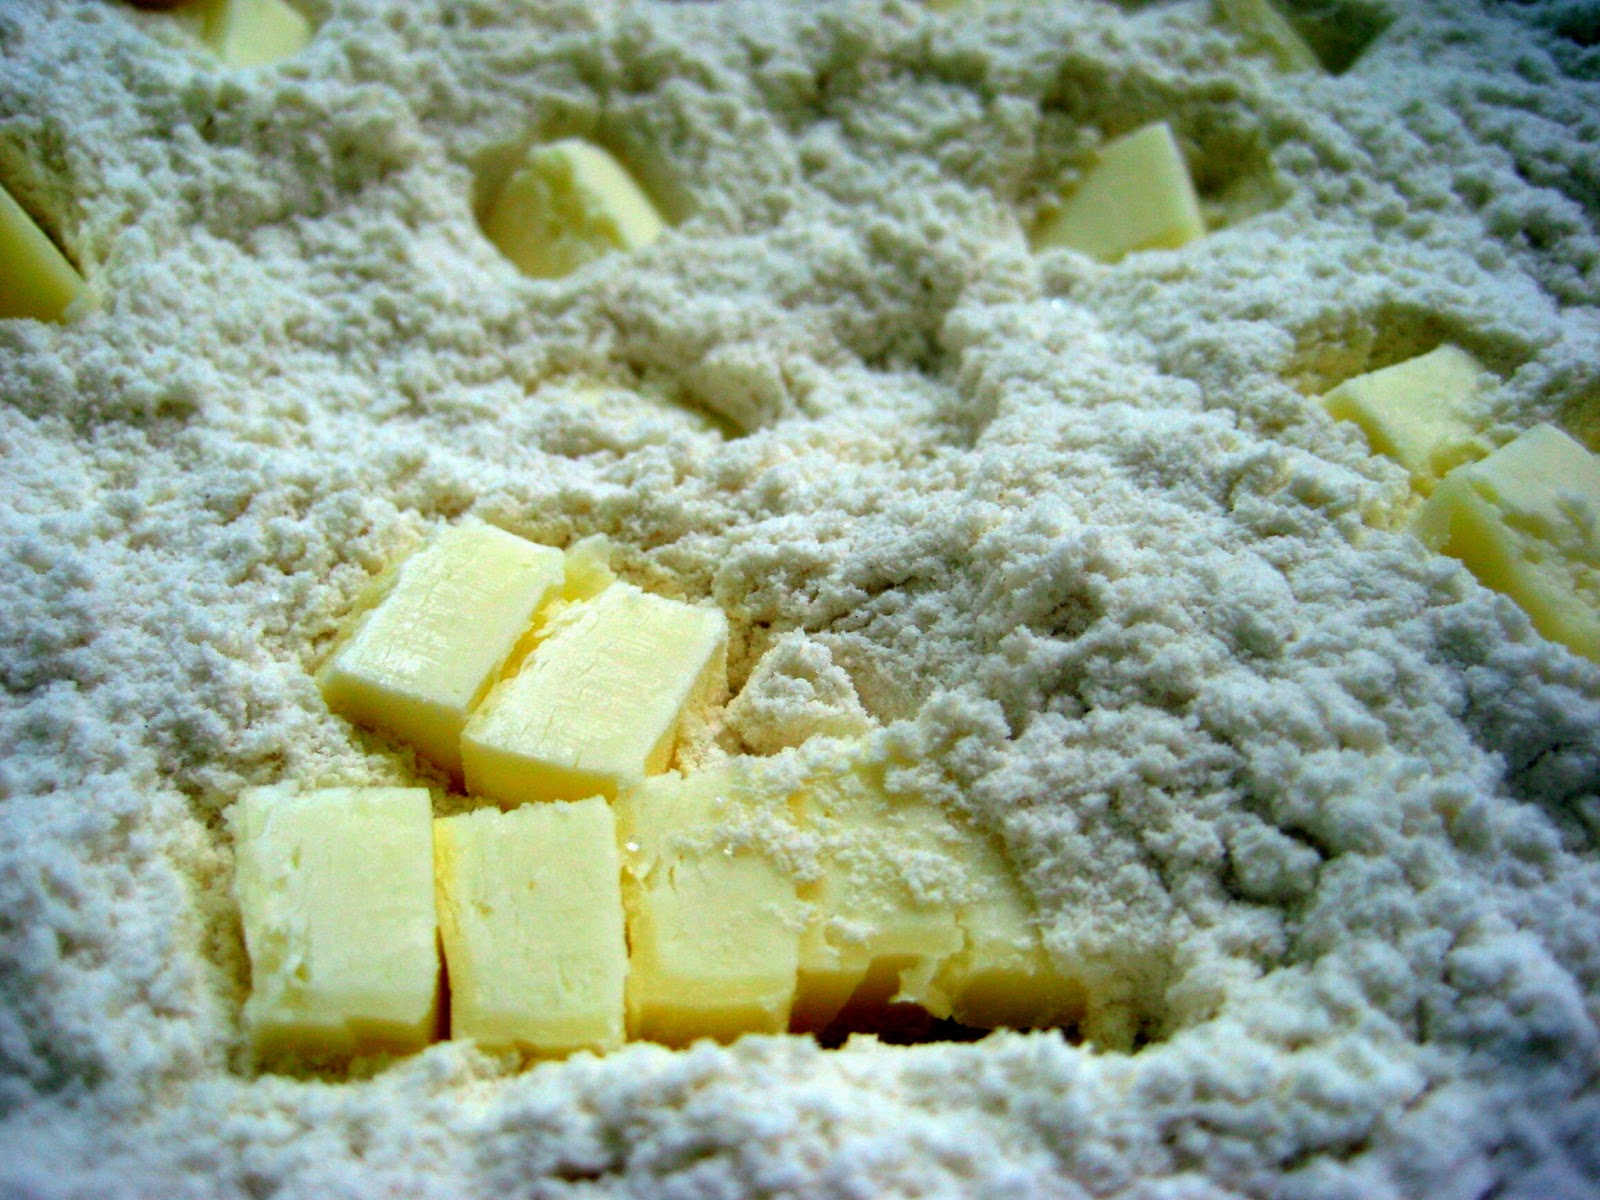
It look simple enough so I dove right in.  Start by mixing all the dry ingredients in a large bowl and then add 1 stick of butter cubed

Work the butter into the flour mixture with a pastry cutter until it's crumbly.

Time to add the mysterious goo... (sourdough starter) and mix until it comes together.  Don't over knead!


Turn it out unto a floured surface and roll out with your rolling pin.  One thing I would do differently is roll them a bit thicker next time (about 3/4 inch thickness).

 Cut out biscuits as close as possible with your biscuit cutter.


Place biscuits on a greased parchment paper lined cookie sheet and let rise for about 30 minutes.  Preheat oven to 400.


Place in oven for about 12-15 minutes or until golden brown.


Butter the tops of the biscuits while they are hot for a little added goodness!  Serve warm with butter and honey... Enjoy!

~A Cowboy in the Kitchen by Grady Spears and Robb Walsh, page 95


Sourdough Biscuits 
2 cups Flour
2 tsp Baking Powder
1/2 tsp Baking Soda
1 tsp Salt
2 Tbs Sugar
1/2 cup Butter, chilled
3/4 cup Sourdough starter